
Setting up Stable Diffusion on your Windows PC opens up incredible possibilities for AI-generated artwork, but the installation process can seem daunting for beginners. This comprehensive guide will walk you through every step of the stable diffusion setup process, from checking your system requirements to generating your first stunning images.
Stable diffusion interface with image generation prompt
Whether you’re an artist looking to explore AI creativity or a hobbyist interested in machine learning, this step-by-step tutorial will help you get Stable Diffusion running smoothly on your Windows computer. We’ll cover everything you need to know about hardware requirements, software installation, and optimisation techniques to ensure the best possible experience. If you’re in need for specialised AI tools for your work, you might want to check these 15 Specialised AI Tools You’ve Never Heard Of.
Table of Contents
System Requirements for Stable Diffusion
Before beginning your stable diffusion setup, it’s crucial to verify that your Windows PC meets the necessary hardware specifications. Understanding these requirements will help you determine what kind of performance to expect and whether any upgrades might be beneficial.
Minimum System Requirements
Your computer needs these basic specifications to run Stable Diffusion:
- Operating System: Windows 10 64-bit or Windows 11
- RAM: 8GB minimum (more images may fail to generate with less)
- Storage: 20GB free space (models and outputs require significant storage)
- Graphics Card: NVIDIA GTX 1060 6GB or AMD equivalent
- VRAM: 4GB minimum (6GB recommended for better performance)
- Processor: Any modern CPU from the last 5 years
Recommended System Specifications
For optimal stable diffusion setup performance and faster image generation:
- RAM: 16GB or more
- Graphics Card: NVIDIA RTX 3060 or higher
- VRAM: 8GB or more
- Storage: SSD with 50GB+ free space
- Processor: Intel i5-8400 / AMD Ryzen 5 2600 or better
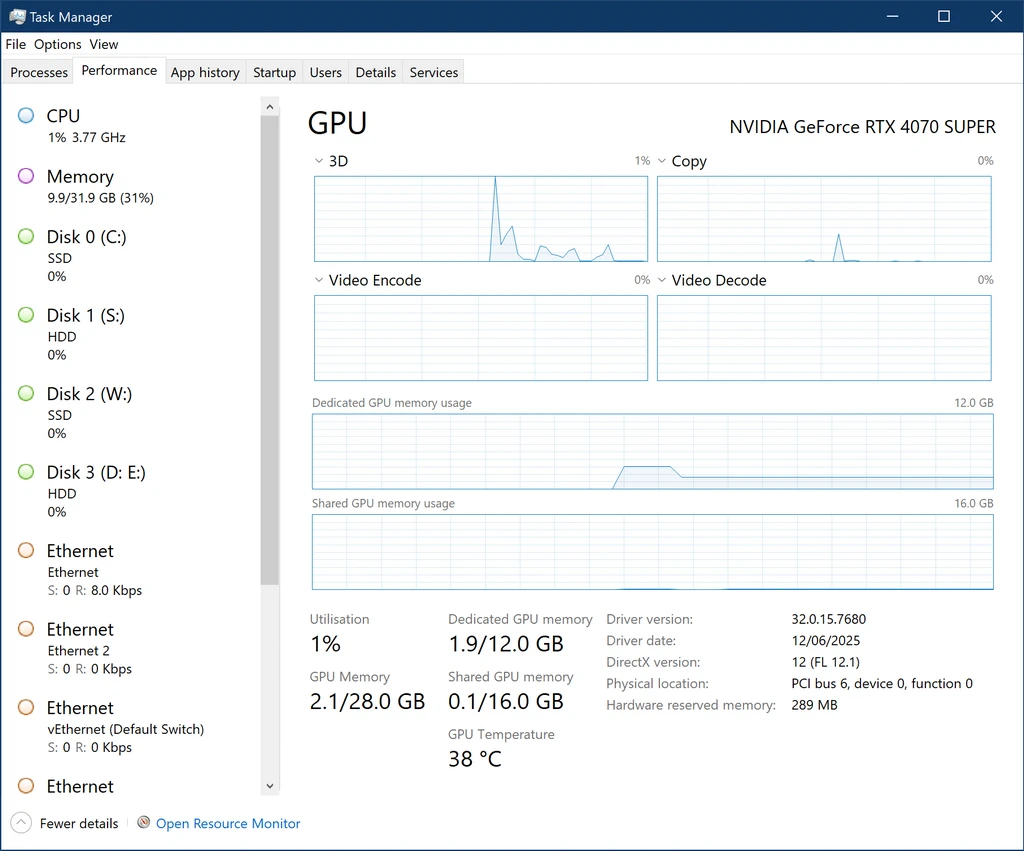
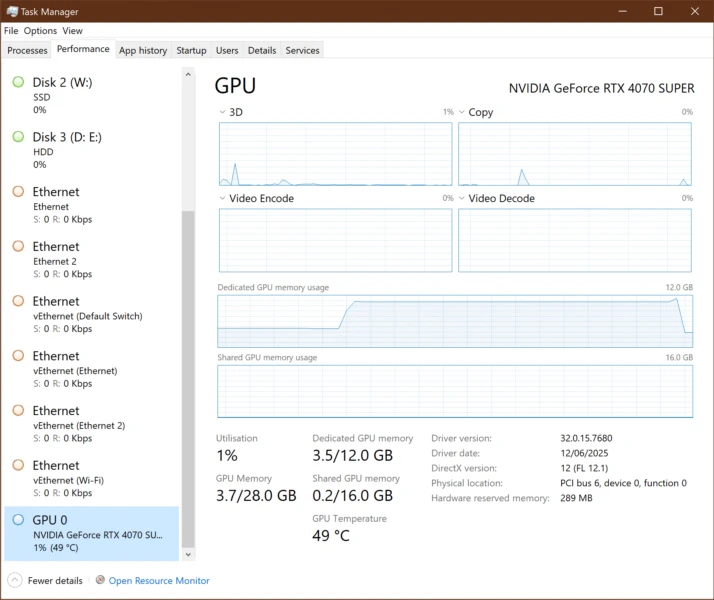
Task Manager showing system specifications
Important Note: NVIDIA graphics cards generally provide better performance due to CUDA acceleration. While AMD cards work, you may experience slower generation times.
Installing Python for Stable Diffusion
Python serves as the foundation for running Stable Diffusion. Here’s how to install it correctly for your stable diffusion setup:
Step 1: Download Python
- Visit the official Python website at python.org
- Navigate to the Downloads section
- Download Python 3.10.6 (avoid 3.11+ as compatibility issues may occur)
- Choose the Windows installer (64-bit)
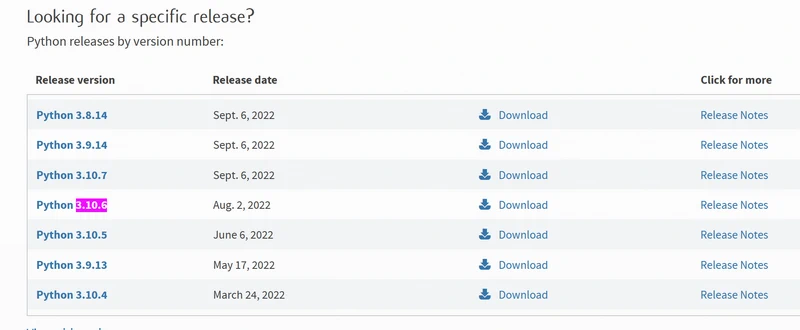
Python download page showing version selection v3.10.6
Step 2: Install Python Properly
Run the downloaded installer and follow these critical steps:
- Check “Add Python to PATH” – This is essential for command-line access
- Select “Install Now” for standard installation
- Wait for installation to complete
- Click “Disable path length limit” if prompted
Step 3: Verify Python Installation
Open Command Prompt and test your installation:
python --version
pip --version
You should see version numbers displayed. If you receive an error, restart your computer and try again.
Setting Up Git for Repository Management
Git enables you to download and update Stable Diffusion repositories. Here’s how to install it for your stable diffusion setup:
Installing Git
- Visit git-scm.com and download Git for Windows
- Run the installer with default settings
- Ensure “Git Bash Here” option is selected during installation
- Complete the installation process
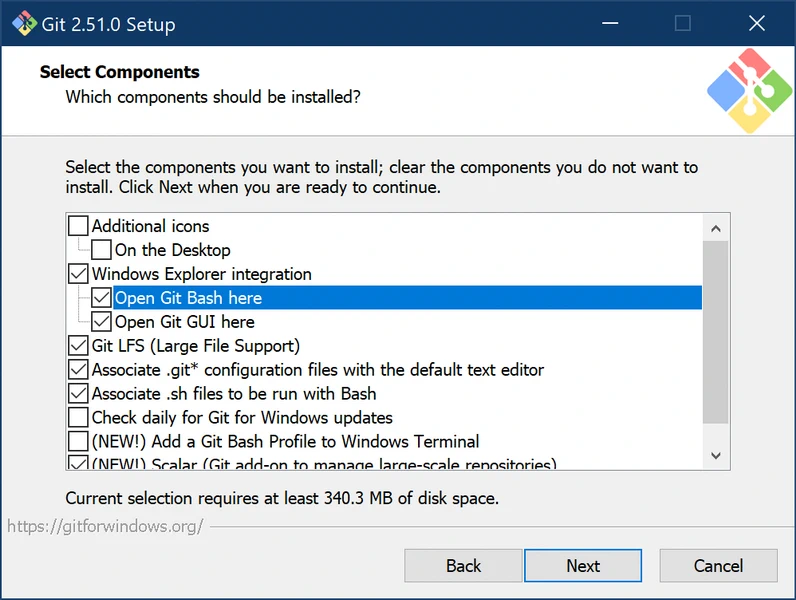
Git installation options screen
Verifying Git Installation
Open Command Prompt and enter:
git --version
A version number should appear, confirming successful installation.
Downloading Automatic1111 WebUI
Automatic1111 WebUI provides the most user-friendly interface for Stable Diffusion. This step is crucial for your stable diffusion setup:
Step 1: Choose Installation Location
Create a dedicated folder for your Stable Diffusion files:
- Navigate to your desired drive (C:\ or D:)
- Create a new folder named “StableDiffusion”
- Open Command Prompt in this folder
Step 2: Clone the Repository
In Command Prompt, navigate to your StableDiffusion folder and run:
cd C:\StableDiffusion
git clone https://github.com/AUTOMATIC1111/stable-diffusion-webui.git
This downloads all necessary files for the WebUI interface.
Step 3: Navigate to WebUI Folder
cd stable-diffusion-webui
Installing Dependencies and Requirements
The stable diffusion setup requires several Python packages and dependencies:
Automatic Installation Method
The WebUI includes an automated setup script:
.\webui-user.bat
This script will:
- Install all required Python packages
- Download necessary dependencies
- Set up the virtual environment
- Configure initial settings
Manual Installation (if needed)
If automatic installation fails, try these commands:
pip install torch torchvision torchaudio --index-url https://download.pytorch.org/whl/cu118
pip install -r requirements.txt
Downloading Your First Models
Models are essential files that generate images. Here’s how to add them to your stable diffusion setup:
Understanding Model Types
- Checkpoint Models: Main models for image generation (4-7GB each)
- VAE Models: Improve colour and detail quality
- Embeddings: Add specific styles or subjects
- LoRA Models: Fine-tune specific aspects
Downloading Base Models
- Visit Hugging Face or Civitai for model downloads
- Popular starter models include:
- Stable Diffusion v1.5
- Realistic Vision v5.1
- DreamShaper
I downlaoded Dreamshaper from Civitai and put that in
C:\StableDiffusion\stable-diffusion-webui\models\Stable-diffusionfolder.
Installing Models
Place downloaded models in these folders:
- Checkpoint models:
stable-diffusion-webui\models\Stable-diffusion\ - VAE files:
stable-diffusion-webui\models\VAE\ - LoRA models:
stable-diffusion-webui\models\Lora\
First-Time Configuration Settings
Configure these essential settings for optimal stable diffusion setup performance:
Launching WebUI
Run the WebUI with this command:
.\webui-user.bat
Wait for “Running on local URL: http://127.0.0.1:7860” to appear, then open this address in your web browser.
Essential Settings Configuration
Navigate to the Settings tab and configure:
- Stable Diffusion checkpoint: Select your downloaded model
- VAE: Choose appropriate VAE or use “auto”
- Cross attention optimisation: Enable for better performance
- Precision: Set to “autocast” for stability
Performance Optimisation
In Settings > User Interface:
- Enable “Show progressbar”
- Set “Live preview subject” to “Full”
- Configure “Max resolution” based on your VRAM
Generating Your First Image
Now for the exciting part of your stable diffusion setup – creating your first AI artwork:
Basic Prompt Structure
Start with simple prompts:
- Positive prompt: Describe what you want to see
- Negative prompt: Describe what you want to avoid
Sample Beginner Prompts
Try these tested prompts:
Positive: a beautiful sunset over mountains, detailed landscape, vibrant colours, high quality
Negative: blurry, low quality, distorted, dark
Settings:
- Steps: 20-30
- Sampler: DPM++ 2M Karras
- CFG Scale: 7
- Resolution: 512×512
Understanding Generation Parameters
- Steps: More steps = higher quality but slower generation
- CFG Scale: How closely AI follows your prompt (7-12 recommended)
- Sampler: Algorithm for image generation (DPM++ 2M Karras is reliable)
- Seed: Controls randomness (-1 for random, specific numbers for reproducible results)
Common Troubleshooting Issues
Even the best stable diffusion setup can encounter problems. Here are solutions for frequent issues:
CUDA Out of Memory Error
This common error occurs when your graphics card runs out of VRAM:
Solutions:
- Reduce image resolution (try 512×512 instead of 768×768)
- Lower batch count to 1
- Add
--medvramor--lowvramto launch arguments - Close other applications using GPU resources
Python Package Conflicts
If you encounter module errors:
pip uninstall torch torchvision torchaudio
pip install torch torchvision torchaudio --index-url https://download.pytorch.org/whl/cu118
WebUI Won’t Start
Check these common causes:
- Ensure Python is properly installed and in PATH
- Verify Git installation
- Check antivirus isn’t blocking files
- Try running as administrator
Model Loading Issues
If models won’t load:
- Verify model file integrity (re-download if corrupted)
- Check file placement in correct folders
- Ensure sufficient storage space
- Restart WebUI after adding new models
Performance Optimisation Tips
Maximise your stable diffusion setup efficiency with these optimisation strategies:
Launch Arguments
Modify webui-user.bat to include performance flags:
set COMMANDLINE_ARGS=--xformers --opt-split-attention --enable-insecure-extension-access
Key arguments:
--xformers: Significantly improves memory efficiency--opt-split-attention: Reduces VRAM usage--medvram: For 4-8GB VRAM cards--lowvram: For cards with less than 4GB VRAM
System Optimisation
- Close unnecessary applications during generation
- Set Windows power plan to “High Performance”
- Update graphics drivers regularly
- Monitor temperatures to prevent thermal throttling
Generation Settings
Optimise these settings based on your hardware:
- Low-end systems: 512×512, Steps 15-20, Batch size 1
- Mid-range systems: 768×768, Steps 20-30, Batch size 2-4
- High-end systems: 1024×1024+, Steps 30-50, Batch size 4+
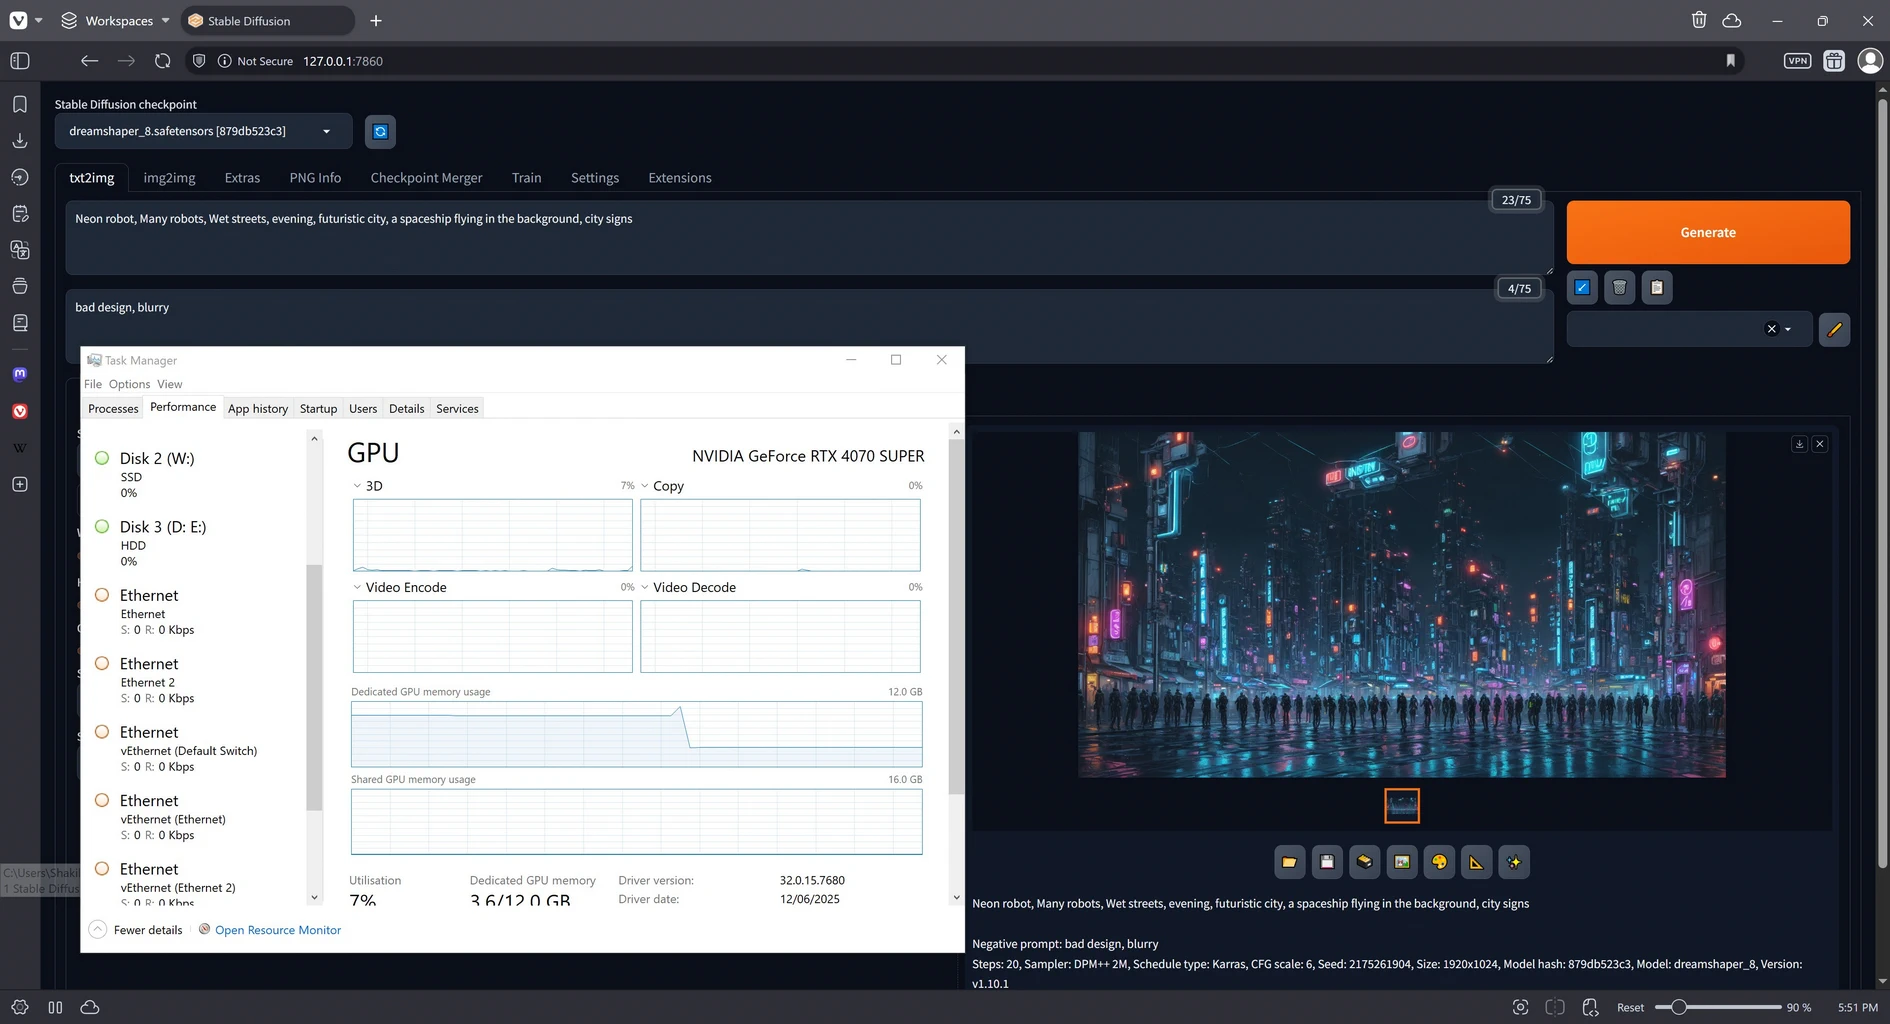
Performance monitoring software showing GPU usage during generation
Advanced Configuration Options
Once your basic stable diffusion setup is working, explore these advanced features:
Extensions Installation
The WebUI supports extensions for additional functionality:
- Navigate to Extensions tab
- Click “Install from URL”
- Popular extensions include ControlNet, Deforum, and Additional Networks
Custom Training
For advanced users:
- Train custom embeddings with your own images
- Create LoRA models for specific styles
- Fine-tune checkpoints for particular use cases
Batch Processing
Automate image generation:
- Use scripts for bulk generation
- Set up queued processing
- Implement systematic prompt testing
Maintaining Your Installation
Keep your stable diffusion setup running smoothly:
Regular Updates
Update components monthly:
git pull
This updates the WebUI to the latest version with bug fixes and new features.
Model Management
- Organise models in subfolders
- Remove unused models to save space
- Back up favourite configurations
- Document successful prompt combinations
Performance Monitoring
Track system performance:
- Monitor VRAM usage patterns
- Record generation times for different settings
- Note optimal configurations for various image types
Conclusion
Your stable diffusion setup journey represents just the beginning of exploring AI-generated artwork. With proper installation and configuration, you now have access to powerful creative tools that can generate stunning images from simple text descriptions.
Remember that mastering Stable Diffusion requires practice and experimentation. Start with simple prompts and gradually explore more complex techniques as you become comfortable with the interface. The community surrounding Stable Diffusion is incredibly helpful, with countless tutorials, models, and resources available online. You can also setup Stable Diffusion on WSL with Ollama if you want to by following our other guide Complete WSL AI Development Environment Guide: CUDA, Ollama, Docker & Stable Diffusion Setup.
Regular maintenance and updates will ensure your stable diffusion setup continues running smoothly. Don’t hesitate to experiment with different models, settings, and techniques to discover what works best for your creative vision and hardware configuration.