
Table of Contents
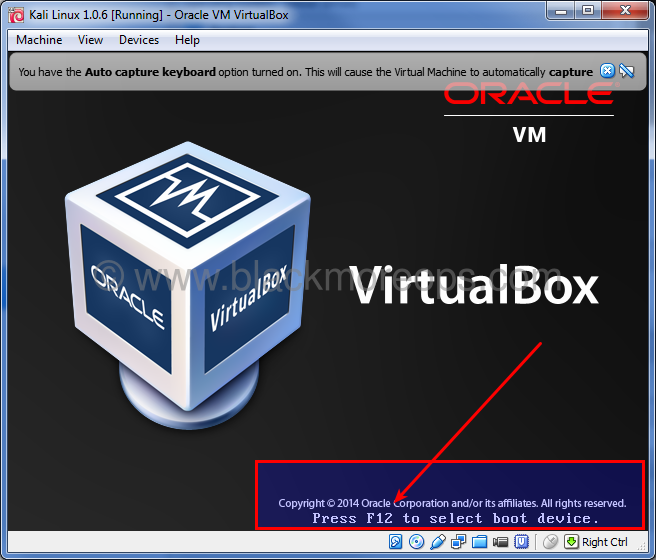
Step 5. Booting Kali ISO
From VirtualBox Main Screen, Highlight Kali Linux 1.0.6 and Press Start Button. You might want to press F12 on the following screen to play around.
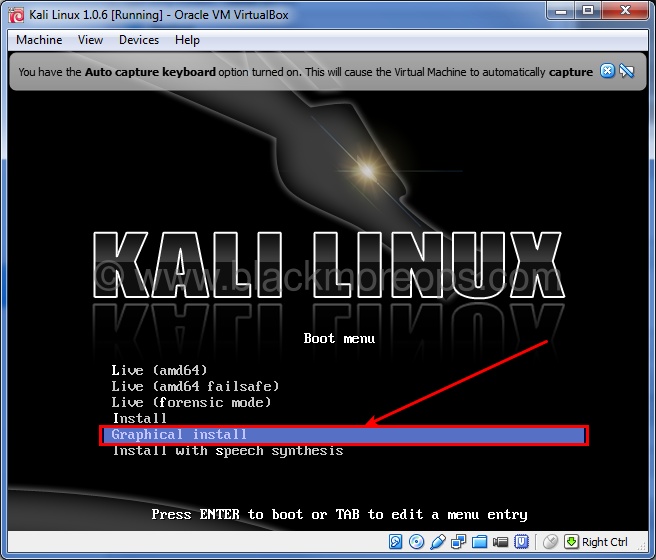
Step 5.a: Select Graphical Install
On Kali Linux Boot menu, highlight Graphical install and press Enter.
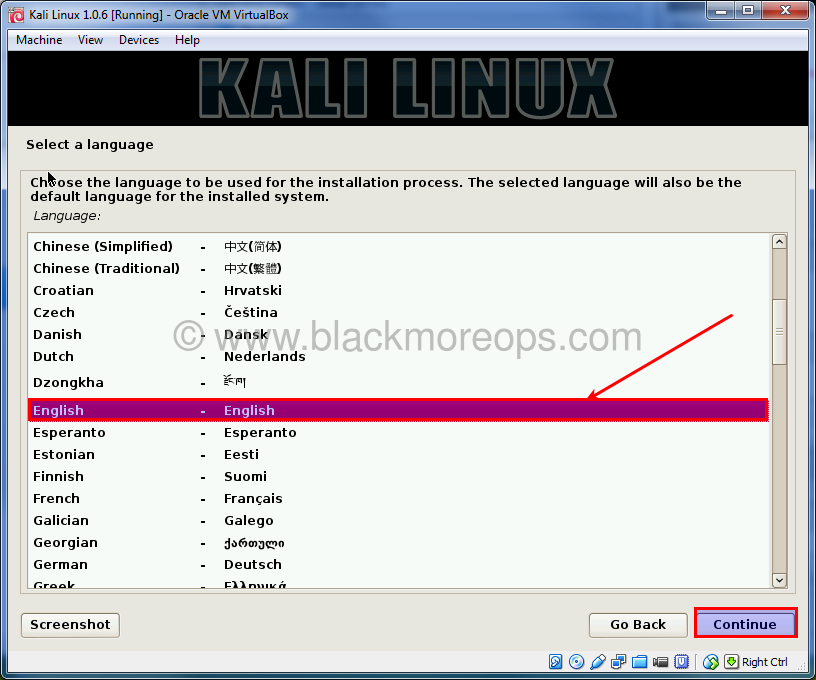
Step 5.b: Select language
In my case I’ve chosen English. Click Continue.
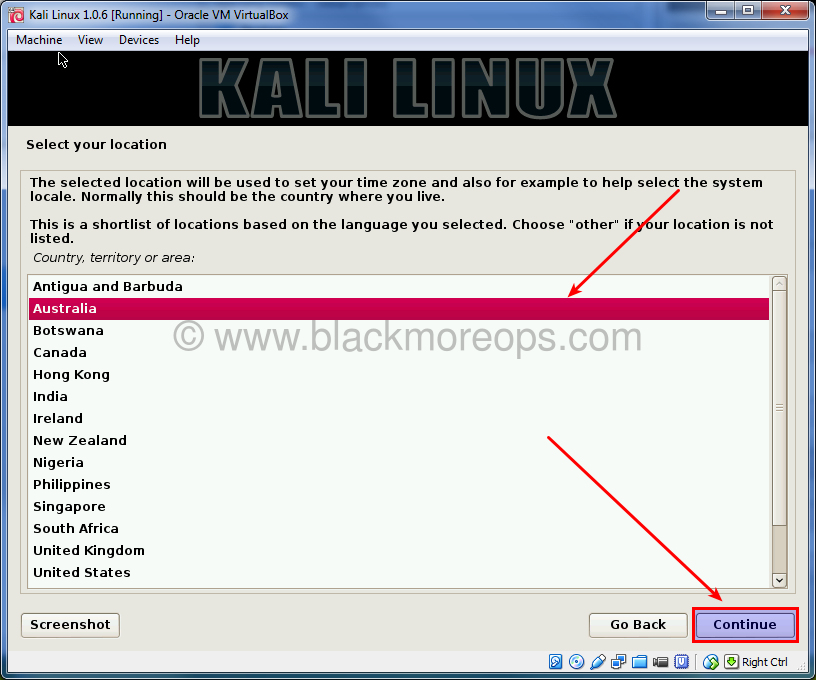
Step 5.c: Select location
In my case I’ve chosen Australia. Click Continue.
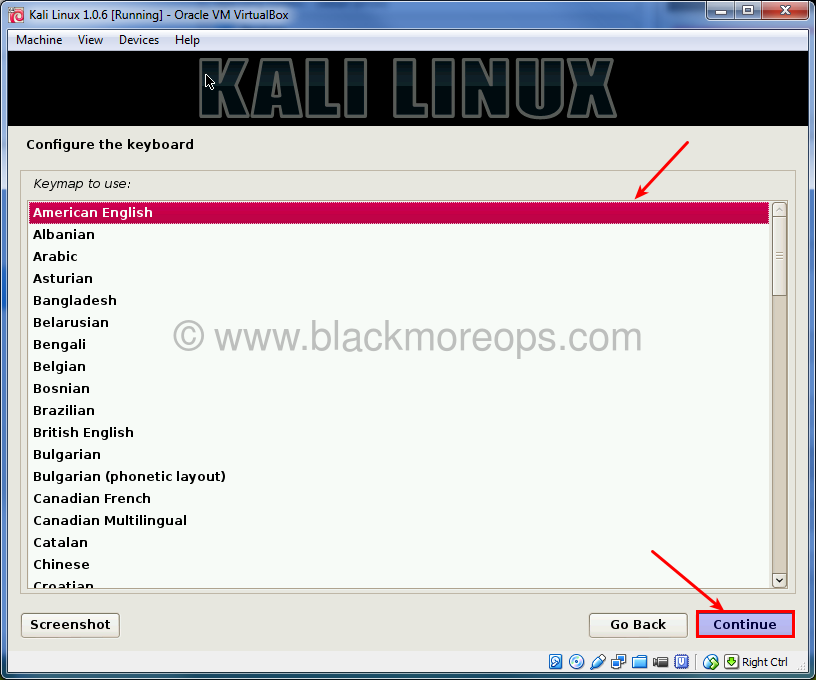
Step 5.d: Select keyboard layout
I’ve selected American English. Click Continue.
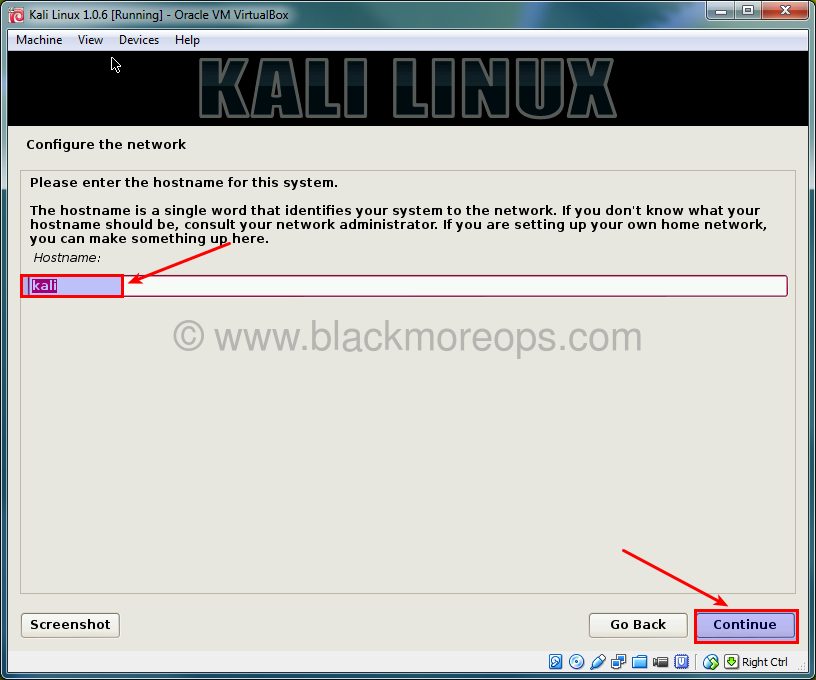
Step 5.e: Enter Hostname
You can enter any name in here. I’ve left the default hostname as “kali”. Click Continue.
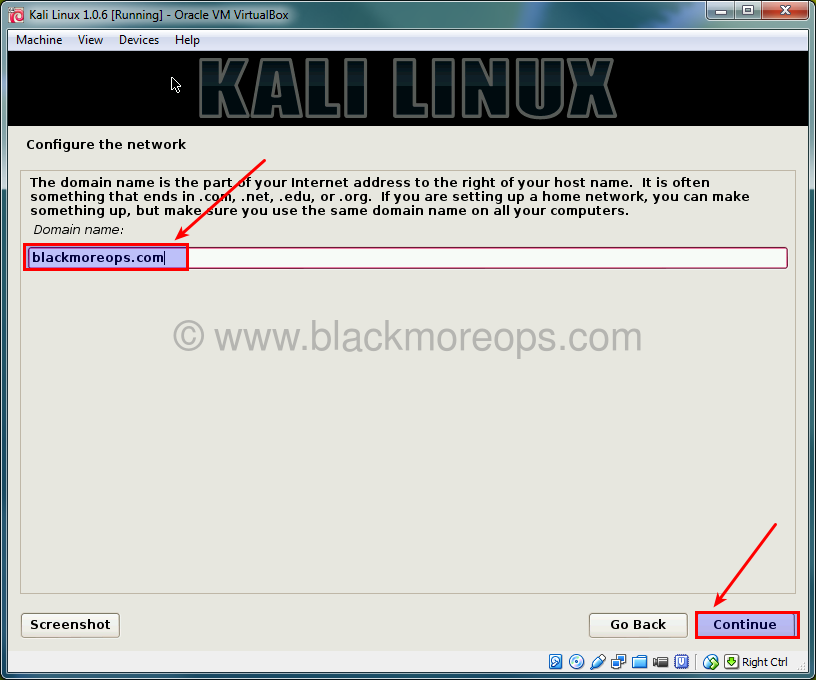
Step 5.f: Enter Domain name
You can leave it blank if you want. I’ve chosen blackmoreops.com as my domain name. This means I can later ping my computer as kali.blackmoreops.com in my LAN.
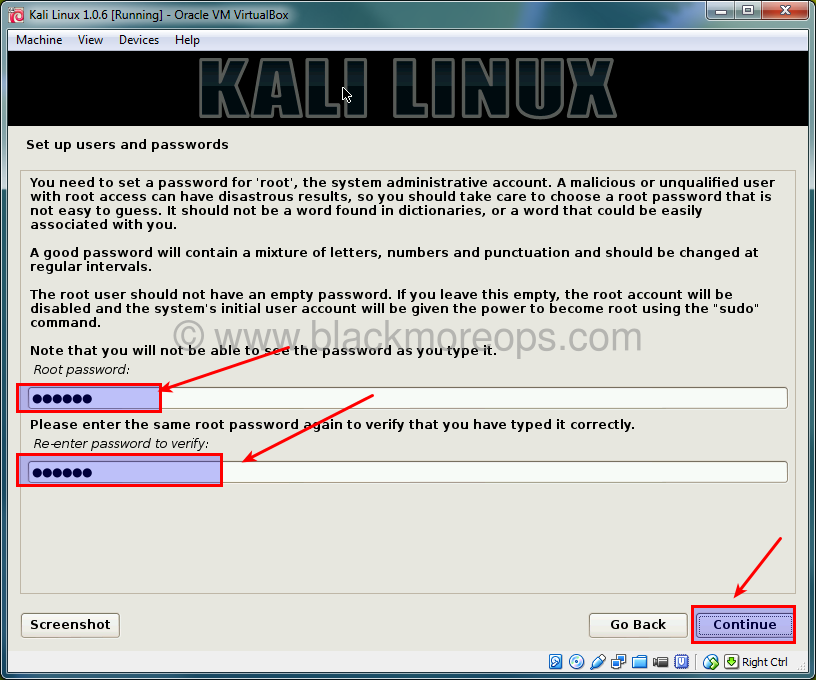
Step 5.g: Choose Root password
Enter your root password (anything you choose), confirm and Click Continue.
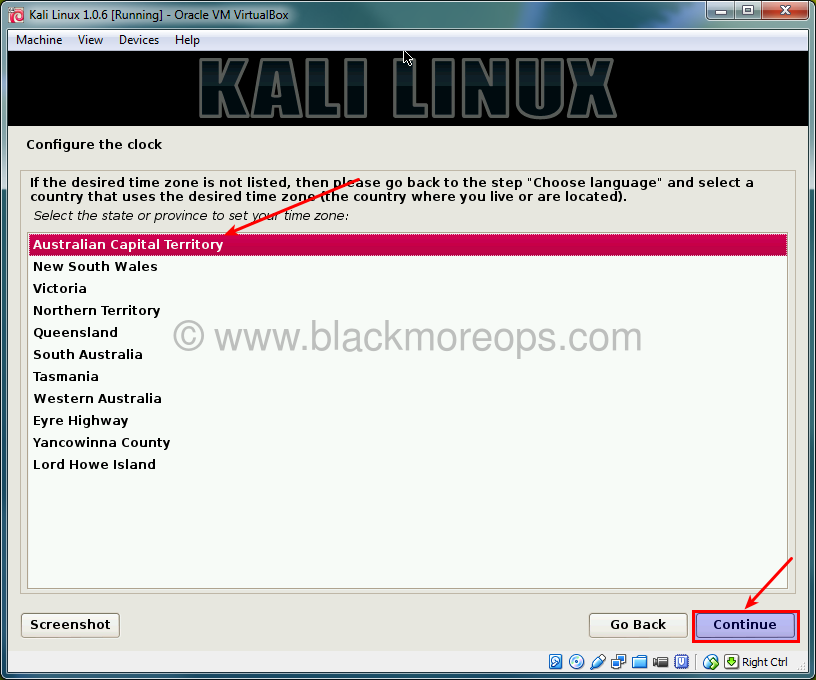
Step 5.h: Configure Clock
Usually you should choose the correct State or province here as otherwise Kali will try to connection incorrect repository and you get slower download speed. Same applies for Location in Step 5.c.
223 comments
Greatest and full working tutorial installed kali successfully which i wasn’t vable to install from moths you helped like a fairy thanks!.
i am still facing same issue during installing kali linux with virtual box. I followed all step of this manual.
http://download.virtualbox.org/virtualbox/4.3.10/Oracle_VM_VirtualBox_Extension_Pack-4.3.10-93012a.vbox-extpack
The link for the extension pack needs updated. Above should be the correct one, testing now to make sure.